Cash Bakery

Its actually my little kitchen that I experience all kinds of recipe that I come across. Its also the place where I make favourite food for my loved ones.

Homemade Kueh Pie Tee

An excellent party food affair that involves hands on by your guests. They are thin and crispy pastry tart shell filled with a spicy, sweet mixture of thinly sliced vegetables and prawns.

Bamukuchen

Baumkuchen is a kind of layered cake. It is a traditional dessert in many countries throughout Europe and is also a popular snack and dessert in Japan. The characteristic rings that appear when sliced resemble tree rings, and give the cake its German name, Baumkuchen, which literally translates to "tree cake".

Thursday, 22 January 2015

Kueh Bangkit


Chinese New Year is around the corner... Soon we will say good bye to the Horse and welcome the Goat... But I will stick my love to Doraemon the Cat and never say good bye... ok enough of my lame joke...

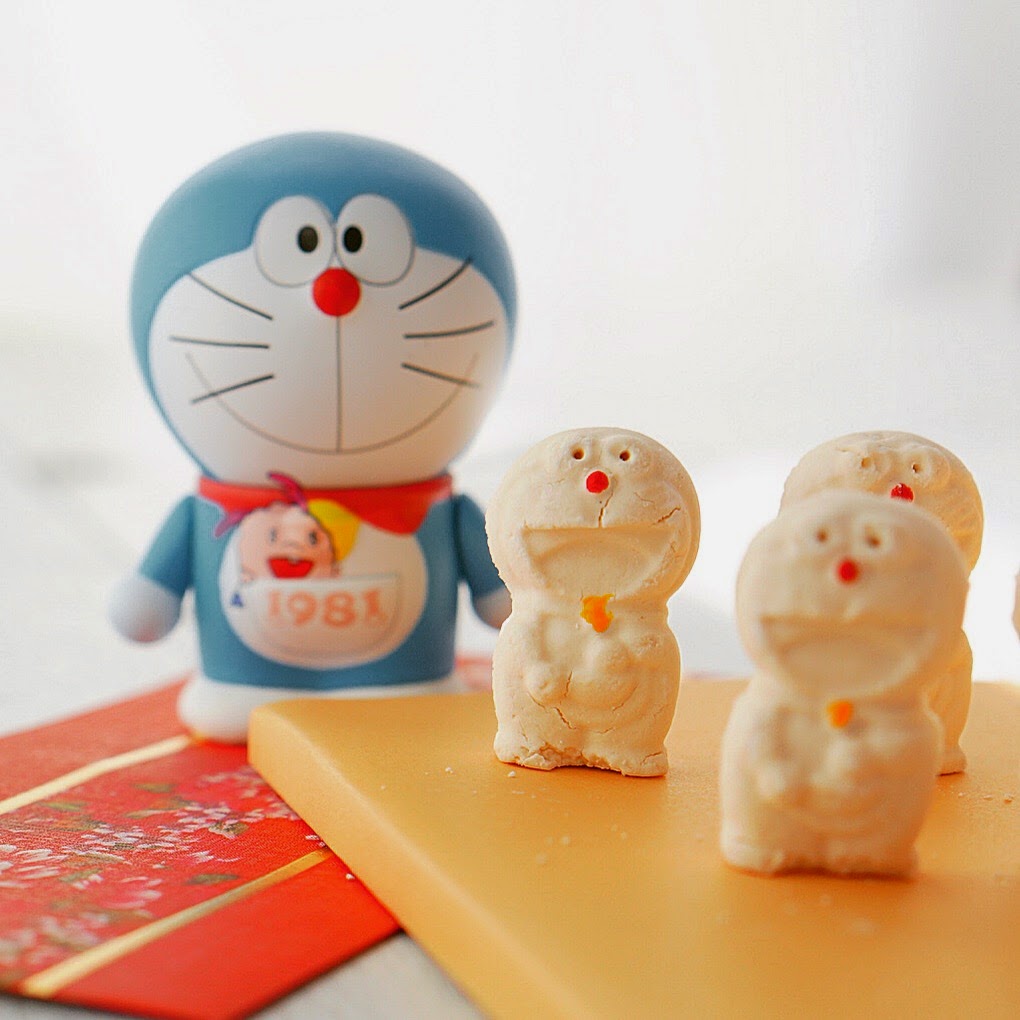
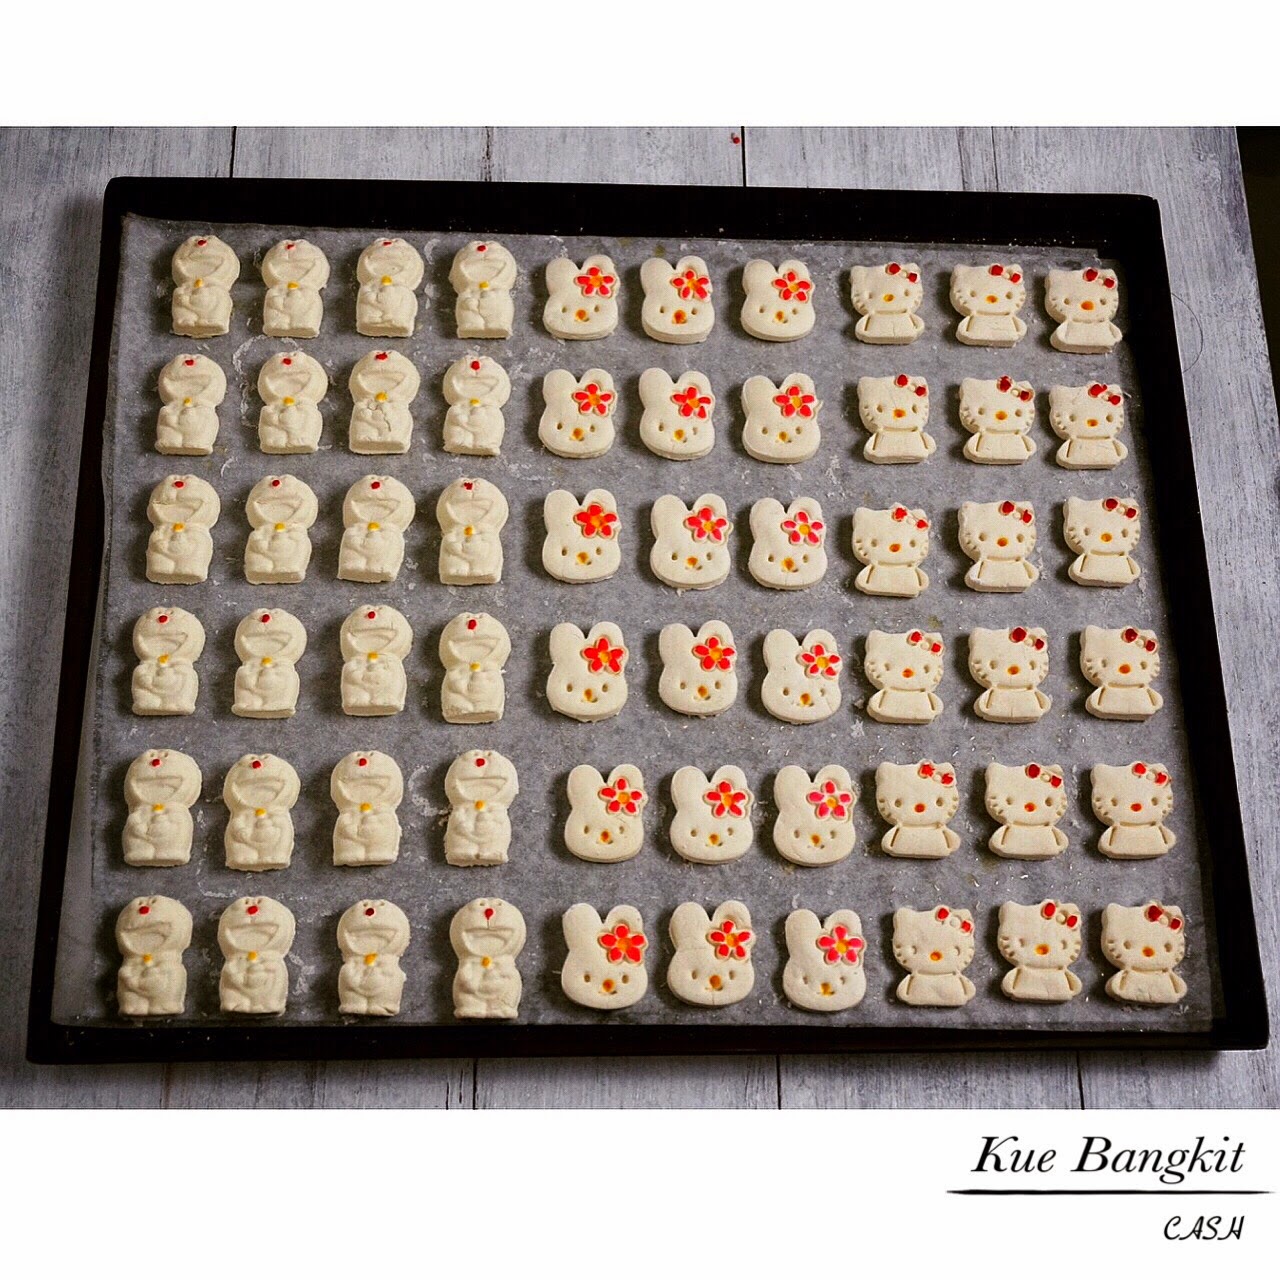
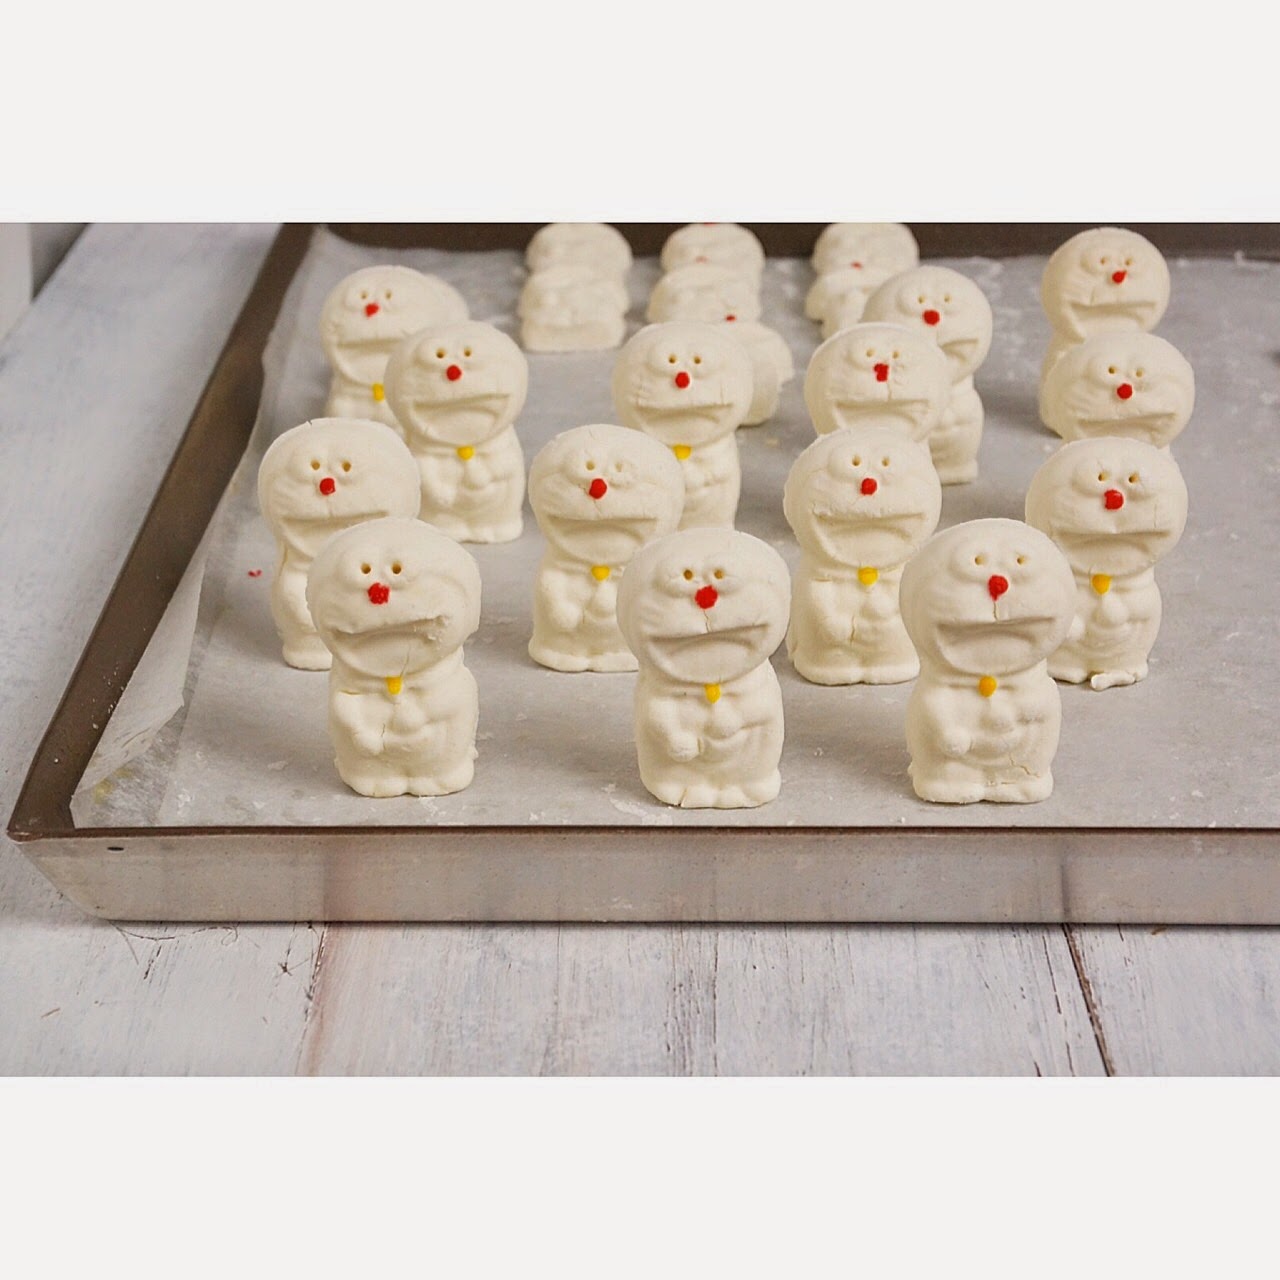
I was inspired by the movie Stand By Me to do kueh bangkit out of their normal shape ... which is Doraemon... I thought I will fail but I did it although they are not perfectly shape... Anyway you can do any shape with any available mold that you have..

The mold that I used is the Doraemon Jelly Mold shown below. You can also used cookie cutter.


In this blog I will talk more on molding part as I believe everybody should have their own favorite kueh bangkit recipe passed down from grandma era that has been fully proved hehehe... Lets make this tradition of making kueh bangkit during chinese new year a lasting one by creating your own desired shape.

First of all you need to prepare the dry and cook flours as follow, one day in advance is advised so as we have a complete cool down flour:

Ingredients
500g tapioca flour
165g sago flour
5-6 pcs of pandan leaves cut into 5cm

Direction
1. Stir fry both flours in a wok over low heat for 10 min and then add the pandan leaves and continue to stir fry for another 10-20 min until the flour is light and slightly turned yellow.
2. Once the pandan leaves become dried and crinkled, remove them out of the flour else once they break you will have hard time to remove them later.
3. Leave to cool completely and sift and then finally store in air tight container.

Kueh Bangkit

Ingredients
420g cooked flour
2 egg yolks
200g icing sugar
240g coconut cream ~ prepare more and used if the dough gets too dry while molding
(I prefer to cook the coconut with pandan leaves and a pinch of salt to have stronger flavor cookie, this is optional and ensure they are completely cool down)

Direction
1. Combine coconut cream with 100g sugar and mix well.

2. In another bowl, whisk egg yolks with hands with the remaining 100g sugar for 5 min and gradually stir in the coconut cream mixture and whisk until well combined.

3. Pour in the sifted flour and knead to get a soft dough. Cover the dough with a damp cloth.

4. Shape the cookie to your desired shape.

If you are using mold, either the plastic or wooden
~ Dust the mold with the extra cooked flour every time before you mold.
 (my mom taught me to put the flour in a thin cloth and tie it with rubber and you will get your own duster)
~ Take a pinch of dough and press them hard into the mold. Trim excess by using knife. Tap Gently on hard surface to remove the kueh. If you are using plastic mold like me, you can gently tap and then press out. Repeat this step.

If you are using cookie cutter
~ Dust the working surface with the extra cooked flour.
~ Roll out the dough into 3-5mm thickness.
~ Dust the cookie cutter and cut out the desired pattern. Repeat this step.

In both situation add a little coconut milk when the dough turned too dry.


5. Bake in preheated oven (top-bottom heat) at 160C for 20-25min until they slightly turned yellow.

6. Remove from oven and leave it to completely cool before storage. At this stage you can use food coloring and paint brush to add some color to your biscuit. They have to be stored in air-tight container.

Kue Bangkit


Kueh Bangkit


Monday, 15 December 2014

Chocolate Log Cake House


This year Christmas I thought of making something fun in the kitchen, Logcake House using basic recipe like sponge cake, butter cream and all kind of decoration goodies that you like. If you have lots of kids coming to your party, they will be delighted as they can pull out their favorite snacks from the cake, some may like like chocolate, others may prefer wafer or cookies. Why not try it out?


Basically you need to make sponge cake and cut into the size of your choice and decorate with biscuits, chocolates or candies with your imagination.


This is what I did:


20cm square chocolate sponge cake


Ingredients

Group A
4 eggs
150g granulated sugar
60g milk
20g sponge gel (The addition of sponge gel strengthens the cake batter)

Group B

100g self cake flour
40g cocoa powder
20g milk powder (I prefer to use coffee powder as it will bring out the chocolate flavor more)
1 tsp baking powder
1/2 tsp baking soda

Group C 

180g melted butter and cooled

Directions

1. Preheat the oven to 180C.

2. Melt butter in microwave for 40 seconds or more and set aside to cool


3. Using electric mixer on high speed, whip group A ingredients or around 5 min until fluffy and voluminous.


4. Add Group B and mix for 1 min and lastly the melted butter for 30s until they are well mixed.


5. Pour into 20cm square pan and bake for 35-40 min until cooked. (Toothpick inserted into the  centre comes out clean). Cool in wire rack before cutting them.


Butter Cream

150g margarine
150g butter
120g icing sugar
1 tbsp cocoa powder

Whisk the margarine and butter until pale. Add icing sugar and continue to whisk. Lastly add the cocoa powder and mix well. At this point your butter cream should be stiff enough to use.


Building the Log Cake House

Loacker waffle as the roof
Redondo waffle stick as the walls
Meiji Chocolate as the door
M&M chocolate as the door knob
Christmas candies to add colour to the house
Chocolate bar as chimney
(cut them into 2 pcs and then cut 45 degree on one side so they can stick to the roof)
Melted chocolate as glue
(microwave 1-2 tbsp chocolate chips for 30s and follow by 10s until all melted)

You can use any brand of your choice and let your imagination run wild in decorating them.


Direction

1. Cut your chocolate sponge cake into 2of 8cmx20cm and 1of 4cmx20cm width.
2. Stack the sponge cake in this order 8cm, 8cm and 4cm. Cream with butter cream prepared in between them and all the 4 sides of the house.
3. Just stick the waffle on the roof and walls and finally the front door with meiji chocolate bar.
4. Stick the chocolate bar on the roof with melted chocolate.
5. Decorate the house with candie and M&M. You can always use the melted chocolate to glue them into the house.

Finally you can place them in the fridge to set.


https://www.facebook.com/video.php?v=680209858763621&set=vb.176023055848973&type=2&theater

Monday, 1 December 2014

Reindeer Cake Pop


Chocolate Cake Pops
Yield: 24 using the Nordic Cake Pop Mould

Ingredients:

130g dark chocolate chips (at least 65% if you prefer less sweet) 
100g butter
100g caster sugar
22g cocoa powder
2 eggs
96g all purpose flour (or 96g cake flour + 1 tsp. baking powder)
1/4 tsp. salt

Decoration:
340g chocolate coating (not chocolate chips, for easy decoration as it does not melt so easily)
M&M (reds only for the nose)
Pretzel for the reindeer horn (break them into half)
Wilton Confetti Sprinkles in white (any decoration sugar that is white is ok)
Edible marker (to draw the eye ball)
Cake Pop Stick
Styrofoam box

Directions:
1. Preheat the oven to 170C (338F). Grease and flour pan.
2. In medium saucepan, over low heat, melt chocolate chips and butter together. (Stop the heat when the butter starts to melt and mix with residual heat with patience. Otherwise the mixture will be separated.) Stir until smooth. Then pour into medium bowl.
3. Add sugar and mix until blended. Add egg one at a time and mix well.
4. Sift in flour and salt. Stir until blended.
5. Spoon the batter into bottom half of pan (without holes) filling each well so it mounds over the top of the pan. 
6. Place top half of pan on top and secure with keys. Bake for 15-18 minutes, until toothpick inserted comes out clean.
7. Cool 5 minutes in pan, then remove cake pops from pan to cool completely. Trim the edges of cake pops, if needed.

Decoration:
1. Melt chocolate coating in a silicone dish in interval of 20 seconds. Mix them well for each interval and stop when they are totally melt.
2. Dip cake pop stick into melted chocolate and insert into cake. Repeat with all cakes. Allow chocolate to cool to secure stick in place. 
3. Dip cake pop in melted chocolate, spinning to let excess chocolate drip off. Make them stand in Styrofoam box i you have else you can just put on a dish like the one below.
4. When the chocolate coating is almost dry, attach the eyes the nose and horn on the cake pop. Repeat for all the cake pop. 
5. Store in refrigerator.           


I would like to take this chance to wish you who celebrate a Merry Christmas and everyone a Happy New Year!!!

Monday, 24 November 2014

Braised Chicken Wing


This dish has always been the comfort food in the house. It remind us of our grandma time when we place our share of dish and rice in a bowl. Love the combination with egg and stir fried kangkong, this is so kampung flavor.


I found the simpler way of cooking the braised chicken wing by using the Tai Hua (大华)  Chicken Marinade I found at the local supermarket. Its best to marinade the chicken overnight, in this way the flavor will penetrate into the meat. And also you can prepare the night before in a pot and then you can just put it in the stove the next day and you will get a good meal in just 30 min.


Ingredients
700g Chicken Wings
250ml Chicken Marinade Sauce
1 cup of water
1 tsp garlic powder (optional)
1/2 tsp pepper
1 tbsp rock sugar (adjust to your liking)

soy sauce (to adjust to your liking)


Direction

1. In a pot, place all the ingredients except soy sauce and marinade for at least 30 min (overnight will be excellent).

2. Bring the pot to boil and cover.


3. Reduce heat and at this time you can add the hard boiled eggs if you want. Simmer until cooked for around 20-30 min. Baste occasionally, season with soy sauce if needed and topping up with water if necessary.


4. Ready to be served with vegetables of your choice. My favorite choice is Stir Fried Kangkong.


Recipe for KangKong:


Ingredients
2 bunch of KangKong
4 cloves shallots

2 cloves garlic
4 red bird eye chili
1 tbsp preserved soy bean
1 tsp sugar
salt to taste

Direction

1. In a wok, heat the oil. Then add the chopped garlic, shallots and chili and stir fry till aromatic.

2. Add KangKong and then preserved soy bean (add a bit of water if necessary). Cook until soft and season with sugar and salt if required. 

3. Ready to be served.

Tuesday, 4 November 2014

Kimchi Korean Seafood Pancake ~ Haemul Pajeon

Korean Seafood Pancake

When I went to local supermarket recently, I found this Buchimgaru (Korean pancake mix), when I read the instruction at the back, it is so simple and I go ahead and prepare this dish, it come out to be very successful. From what I understand this pancake mix is widely used by Koreans and is great for all types of pancake dishes and menus. While some use plain flour, many prefer using buchimgaru because it gives a crispier texture. Buchimgaru is a mix of different types of flour and other seasonings so it makes your pancakes more flavorful as well.

Haemul Pajeon, or Korean seafood pancake, is a widely loved dish when you visit the local Korean restaurant. They are also popular snack in Korea. A delicious pancake to die for with the harmony of seafood, onions and flavourful batter. It is also great for parties or gatherings, as it pairs wonderfully with alcoholic beverages. Now you can invite your friends over for a delicious treat.

The instruction is actually written at the back of the pack, but I add some variety to it and here is the recipe:

Yield: 2 pancakes (20cm frying pan size)

Ingredients
120g squid
80g sliced shrimp
1/4 onions
spring onions
Red/Green Chilli pepper (Optional)

100g Panckae mix
a pinch of salt
170ml cold water (Using cold water gives a nice elastic texture)
1tbsp Kimchi Paste (optional)

Direction
1. Wash and rinse seafood in salt water. Wash and slices the rest of the ingredients. Pat dry all the ingredients with paper towel.

2. Add water, salt and pancake mix into a big bowl and mix well. Add in all onions and peppers and mix well. 

3. Heat frying pan with oil and divide the batter into 2 (one portion for one pancake).

4. Pour 3/4 of the batter (or thin layer) in the pan while moving the pan in circular motion for even distribution. Quickly top it with seafood and pour the rest of the pancake mix all over the topping and around the edge to fill the rest of the pan. Press down toppings so they are embedded into the uncooked pancake batter. This will prevent toppings from falling off when flipping. 

4. Cook to 2-3 min on medium heat until the bottom is golden brown. Flip the pancake and cook on low heat until golden brown. Flip again and slide it onto a serving plate.
(If you are not comfortable with quickly flipping the pancake with toppings, Then mix in all the ingredients in the batter and cook in a pan all together. This way you don't have to worry about ingredients falling off when flipping.)

Dipping Sauce
1 tbsp Soy Sauce
1 tbsp water
1 tsp lemon juice/vinegar
cut chillies
1 tsp garlic (optional)

Mix all the ingredients and serve the dipping sauce on the side. 

Sunday, 2 November 2014

Rice Noodle Roll ~ Chee Cheong Fun (肠粉)


This is my all time favourite dim sum. Now I can do it at home and it is super easy. In 30 min you can impress your family with this snack.
I have done a Char Siew meat version this time. However you can always used cooked seafood like prawn or scallop or better still some Crispy Dough Fritters.

Do try it out and enjoy. 

Yield: 9 pcs from 20cm non stick pan

Ingredients

75g rice flour
75g potato starch
500ml warm water
a pinch of salt
1 tbsp of cooking oil

Char Siew meat (thinly slices)/Crispy Dough Fritters
Spring onions

Directions

1. Mix all ingredients well until there is no more lumps.

2. Heat the pan and coat with a thin layer of oil using paper towel.

3. Pour around 50ml of batter on the pan and ensure they are well spread and cover with a lid. Cook for 1.5 to 2min and remove from the heat. Place the char siew on top of rice roll sheet and sprinkle some spring onion and lastly roll it to the end and transfer to a plate. Repeat the steps until all the batter is used up.
Tip: the thinner the rice noodle sheet the better it will taste.

4. Served with homemade soy sauce and garnish with spring onions.

Home Made Soy Sauce 
(You can do this in advance or keep for use in the future)

Ingredients
1 slice of ginger
1 Spring onion (cut into short lengths)
1 sprig Coriander leaves
160ml chicken stock
35ml soy sauce
A dash of dark soy sauce
23g rock sugar

Directions
1. Heat oil in a wok and stir fry ginger, spring onion and coriander until fragrant. Add the remaining ingredients and bring to boil.

2. Strain and use as needed.


Thursday, 16 October 2014

Blueberry Cheesecake

Japanese Cheesecake

I like to eat New York Cheesecake, but sometimes it may be too heavy for me to finish one whole slice, so there are times when I crave for this kind of light Japanese cheesecake but still maintain the nice biscuit like OREO at the bottom and top with refreshing blueberry jam. And decorate it with some almond slices and it will bring the cheesecake to a new level with different flavour and textures in one bite.

Ingredients
2 (137 package) Oreo Cookie (remove the cream), process till they become fine crumbs.
90g melted butter
2 blocks of cream cheese (total 500g), left out of the fridge for a few hours to soften.
2 extra-large or jumbo eggs (66g – 70g each) (separate egg yolks and egg whites)
130g caster sugar (divide into 2 portion)
3 tablespoons sour cream
1/3 cup of fresh liquid cream (36% fat)
1/2 tsp vanilla extract
1/2 tsp lemon juice
a pinch of salt
3 tablespoons of blueberry jam
1/2 cup fresh blueberries
Method
1.    Preheat oven to 160 deg Celsius.
2.    Melt butter in a pan and then add the fine Oreo crumbs and still until well combined.
3.    Line the base and sides of a 7 or 8 inch springform pan with baking paper and butter the entire pan and the baking paper.
4.    Place the biscuits-butter mixture in the pan. Using a potato masher or a large glass with a flat surface, pack the mixture tightly into the pan. Set aside and keep in the fridge.
5.    Add the softened cream cheese and half portion of sugar to a cake mixer and mix slowly. Add in the whipping cream, vanilla, lemon juice, a pinch of salt and sour cream and beat the mixture till light, fluffy and smooth at medium speed. Scrap down the sides of the bowl as needed. Add the egg yolks one at a time and beat until incorporated. Do not over beat as it would generate a lot of air pockets in the cake and cause the cake to crack after baking.
6.    Whisk egg whites till bubble form at low speed (Tip: you can add a few drop of lemon juice to stabilize the meringue). And then add the next 1/2 of remaining sugar and whisk until soft perk is formed. Add the last 1/3 of sugar and whisk the egg white until firm perk in formed. The egg whites should stand firm and not drip back into the bowl.
7.    Add the egg whites mixture 1/3 at a time to the cheese mixture Fold in the whites carefully so that the air is not lost.
8.    Pour the mixture into the prepared springform pan. Lift the pan and gently knock its base against the table counter top to release as much air as possible. If the air bubbles float up and are trapped at the surface, use a spatula to smooth the surface and break the air bubbles.
9.    Double/triple wrap the pan with aluminium foil and sit the cheese cake pan in a larger roasting pan. Pour boiling water into the large roasting pan till the water reaches halfway of the cheesecake pan. Place the pan into the oven for 50 mins. Do NOT open the oven door at any time. Else the cake can end up cracking. Once cheesecake is done, turn off the oven and leave the cake inside to cool for 1 hour. Do NOT open the oven door. Remove from oven and let it cool down at room temperature.
10.  Place 3 tablespoons of blueberry jam in a bowl and whisk it till it’s soft, light and slightly thick. Spread the jam in an even layer on the cake. Lay the fresh blueberries on top and decorate with some mint leaves.

11. 
Chill for at least 4 hours or overnight before serving. 
Tip: Warm your knife in hot water for every cut you make and the cheesecake will be cut out perfectly. 

Twitter Facebook Favorites More